The day has finally come; I am happy to announce that I have completed my first game audio project. I spent a lot of time trying to figure out how to put my audio skills to practical use with games. The real issue is that I have a toolbox full of audio skills that I picked up through the years, but I have zero game-making skills. The only options are to have someone else make the game, or make it myself. I decided for my very first go-around to just build it myself; however, I took a bit of an easier route… Let me explain.
The Easy Route?
It is no secret that making games is a very time-consuming and particularly difficult task, especially doing it as a solo dev. I thought about many different options, from just building the tiniest game possible to using a premade demo scene in Unreal and implementing sound to it (I might do this anyway in the future). I decided to go somewhere in the middle and create a world in a video game called VRChat.
VRChat is a game, well, chat app, in which you put yourself in a virtual world and meet other people from around the world and just hang out! If you’ve ever seen the film “Ready Player One,” then you get the idea of what this app is supposed to be. I’ve been using this app for networking, which has been pretty effective since there are a lot of technologically minded folks on the app. Here are a few photos of myself and the wonderful people I have met (I’m the one with the “Lego head”).
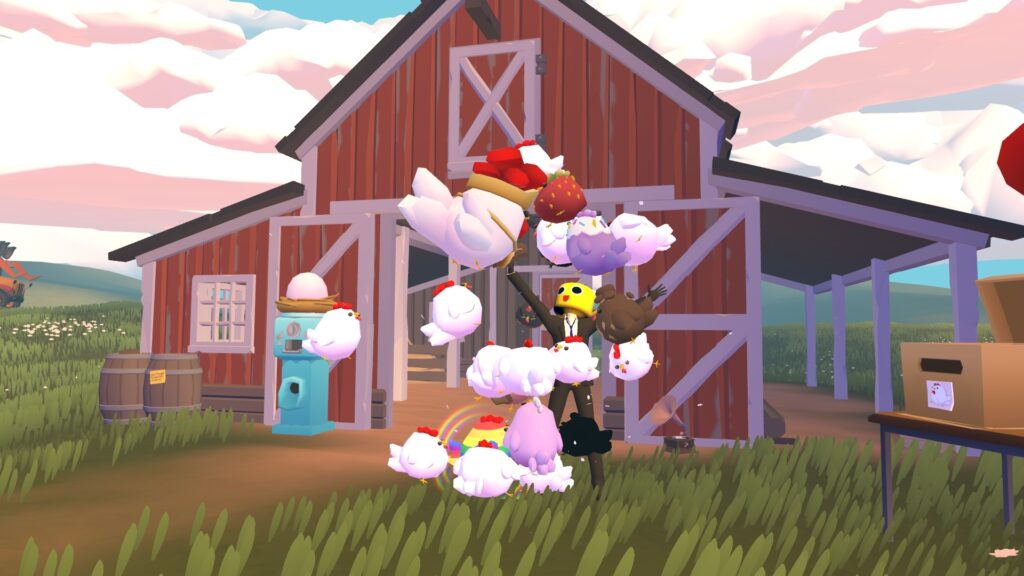
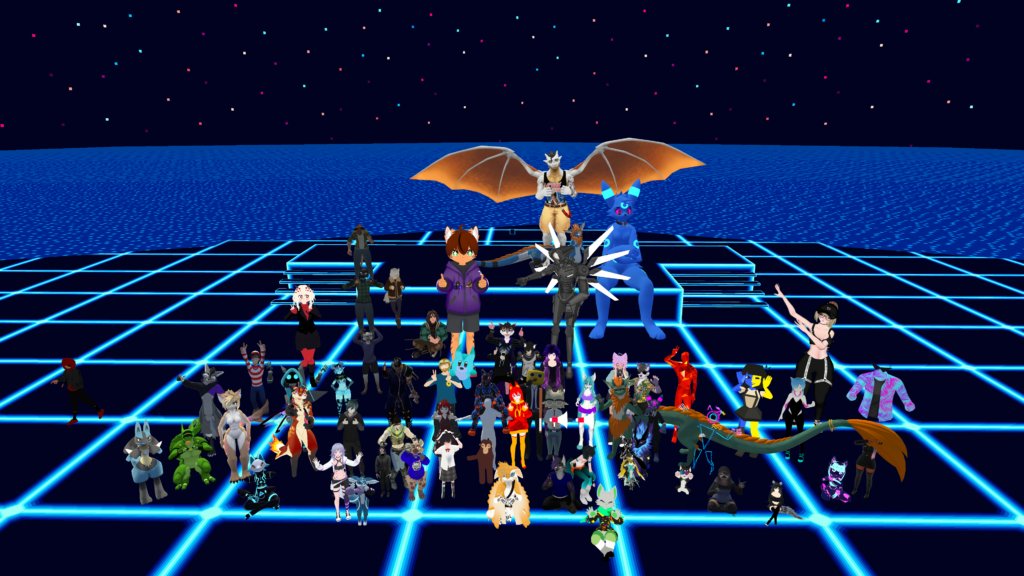
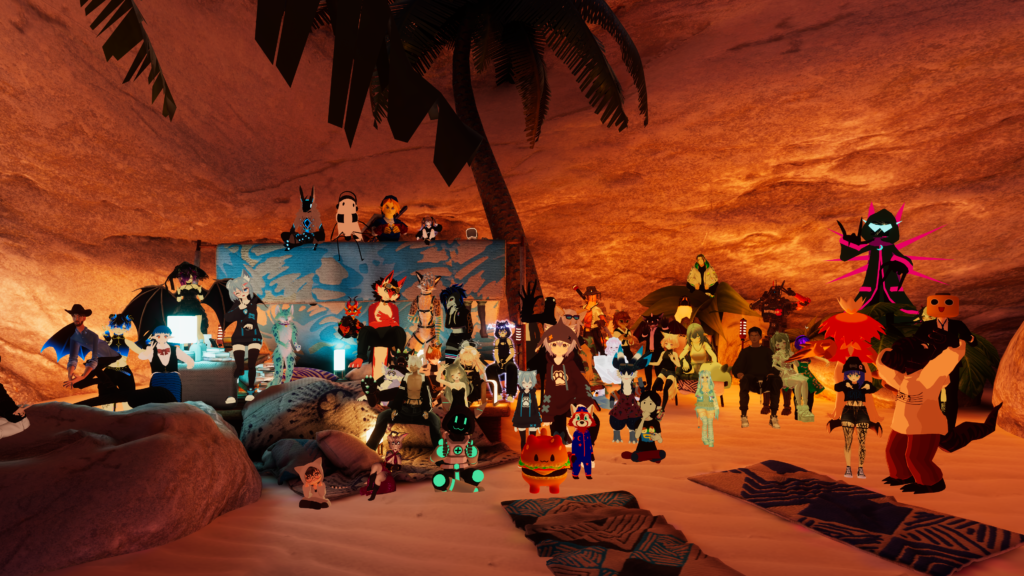
This app is very user content driven; everything from the way people choose to represent their avatar to the actual world you hang out in is driven through user-created content with the Unity game engine. This game is without a doubt the biggest social VR app, with hundreds of thousands of users logging in every day. Because of this, there is a wealth of documentation on how to create your own stuff. Since this game and its users have made a big impact on my life, I decided to give back and create my own world.
The Concept
For my very first world, I had a couple of goals to achieve in it. The first goal was to make sure the sound implementation was the best that I could do. Second, practice some 3D modeling. I decided to go for a very simple world to start out with so that I don’t overwhelm myself too much on it. For this, I decided to create a simple hangout world where people just spawn in and chill while also tapping into some nostalgia, specifically this sort of nostalgia described in this meme:

I figured this would be the perfect project because all I would be 3D modeling would be a simple box, and the sound implementation of field wind noise and birds would be simple as well. If I pulled this out, not only would this be a cool hangout spot, but it would also be something unique compared to other worlds I have seen in VRChat. I got to work with the 3D modeling.
It’s Blending Time
There are a few different ways to 3D model for a VRChat world. I decided very early on to use software called Blender. Simply because it has become industry standard at this point, and it is very, very good at 3D modeling. What I did in Blender to create these boxes is pretty straightforward, so I won’t go into too much detail. I just spawned in cube objects, beveled the edges to create a rounded curved edge, did some inserts to extrude the face slightly in, and then modeled the hinge using the cylinder. I followed similar steps to create the smaller, grey versions. Then finally, apply some free-to-use textures to the model and hit export.
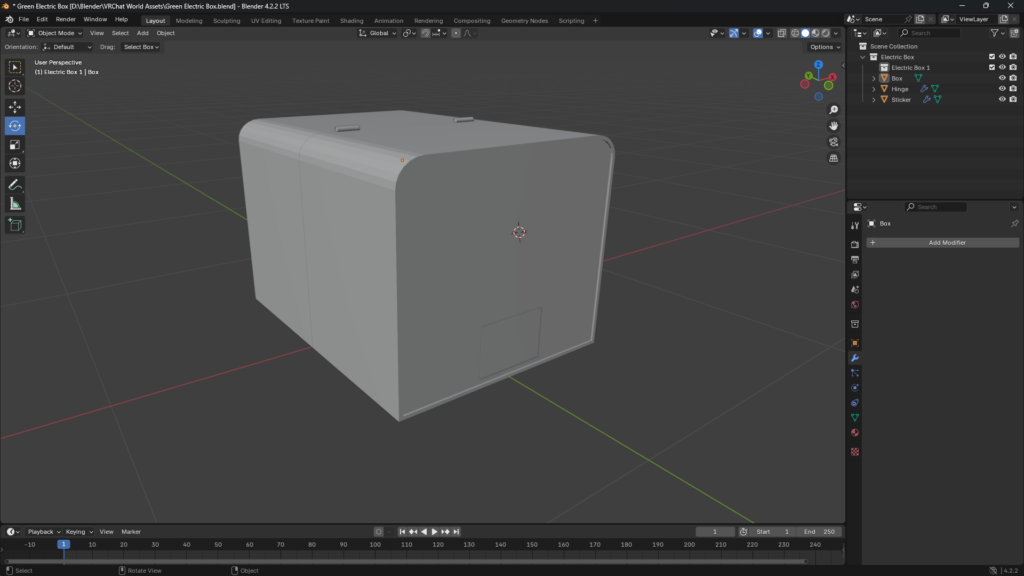
I was able to noodle my way through the program after reading some manuals and watching tutorials on YouTube. It was actually very enjoyable to use Blender, and I can see myself wanting to use it more to create. The next program in my project, however, I can’t say the same about.
You Can Do Anything You Want To, It’s Your World
After creating my models, the next step was to import them into Unity and build a world around it. Everything in VRChat is powered by Unity, so sooner or later, you will use it. To credit the devs of VRChat, they created an app called the VRChat creator companion, and that made the process of installing Unity, along with the necessary packages, a very easy one-click install. After installing Unity, I quickly went to work.
The very first thing I did was change the default skybox to a free one that looked better than the default and then import my models I created. My goal was to create a setting that was bright, sunny noon.
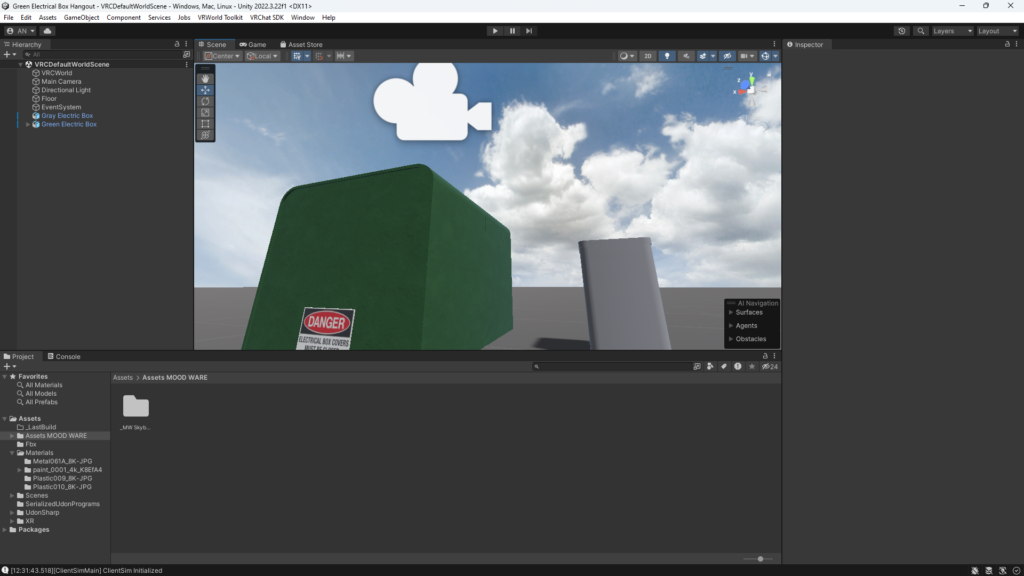
After that, I created a new terrain to apply some free-to-use grass textures to. I was able to find some free resources online for a wooden fence, a house, and some roads. I was going for a suburban setting, so having the same house copied is not only fine, but expected in this setting.
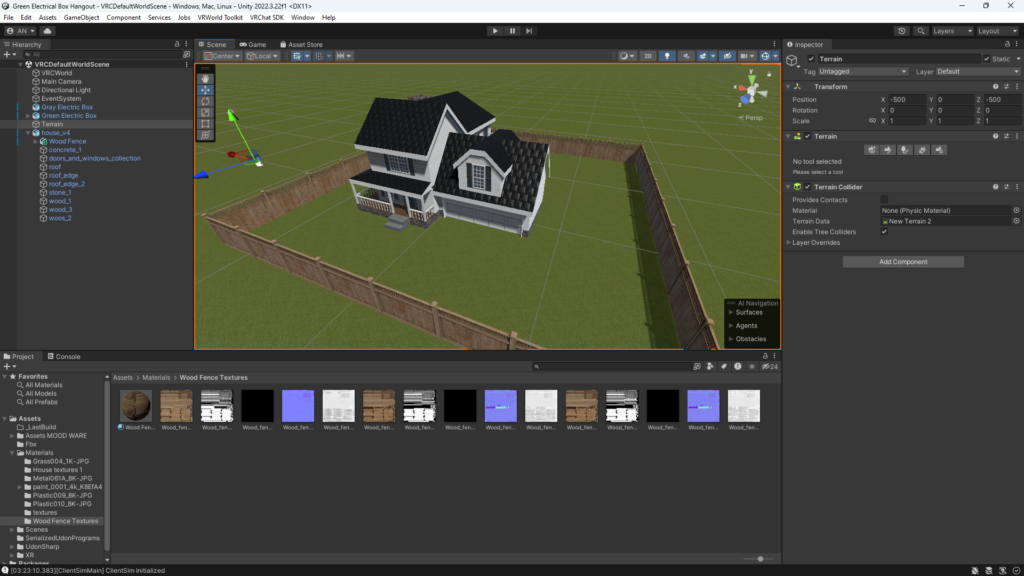
Things were starting to come together at this point for a 3D world. The next thing I did that really made the world pop was to paint on some hills, paint alternate dirt patches here and there, and paint on some trees that I was able to get from the Unity asset store.
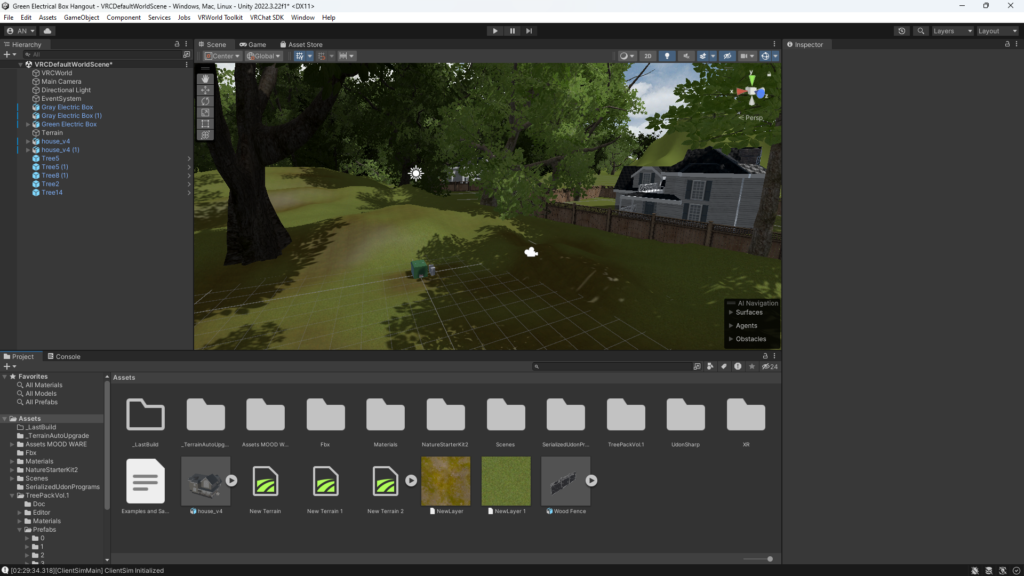
The whole process so far has been so satisfying. Just slowly working on it here and there, and then slowly seeing the world you are building come to life, gave me the same feeling I get when I’ve perfected my sound mix. It was a great feeling!
After that, I was able to grab the sound of outdoor wind and bird sounds that I was able to record a year or so back when I visited Eugene, Oregon. There were some annoying people sounds and buzzing bee sounds, so what I ended up doing was editing the sound by grabbing the best parts and copying and pasting them, while trying to make sure my paste job was done in a slightly irregular way. The reason is that if it happened at a regular interval, it would be easily noticeable that it was looped and not sounding natural.
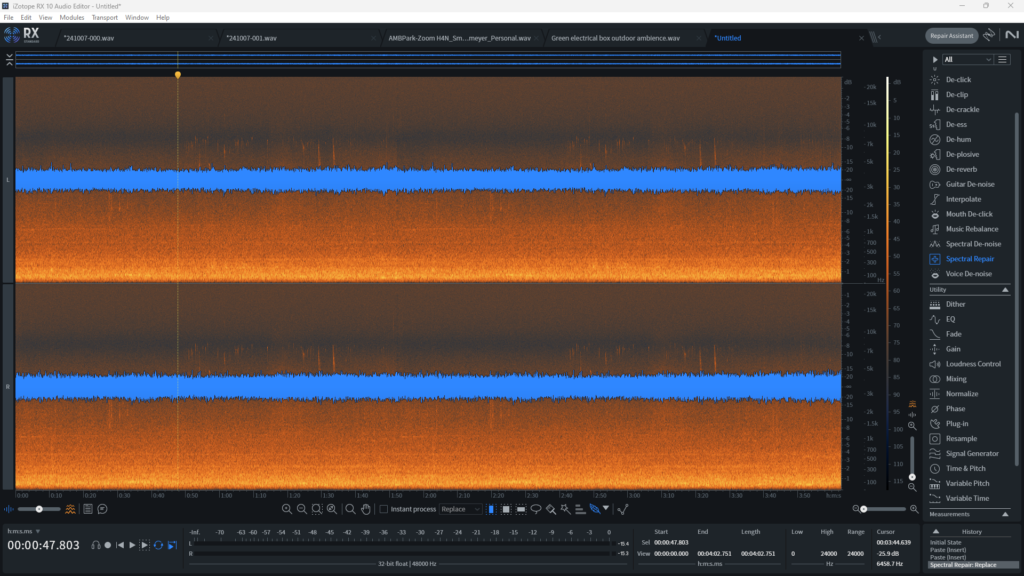
After I had my finished audio file, I imported it through the VRC Spacial audio tool. The one thing to note here is that when I imported it, I made sure to select the 2D audio option. The reason for this is that when importing the spatial audio tool, it will play audio at a particular point in the world. The sound I have should not originate at a specific point, it should envelop you. The 2D option would allow the sound to play through your headset, no matter what part of the world you are in. I was also able to get away with this because the original file was recorded in stereo anyway. Doing it this way sounded quite pleasant and natural when testing it in VR.
Unfortunately, after this point, this was when I started to run into various roadblocks. Before then, I thought people might’ve been exaggerating how frustrating it was to work within unity, but I was wrong.
The Monster Called Unity
Let me talk about the sound issue I was having after implementing the background wind/bird sound. The next thing I wanted to implement to make the world sound believable was footsteps. The recording process was pretty simple, I went outside and recorded myself stepping on some grass, and then used audio editing magic to isolate the best sounds.
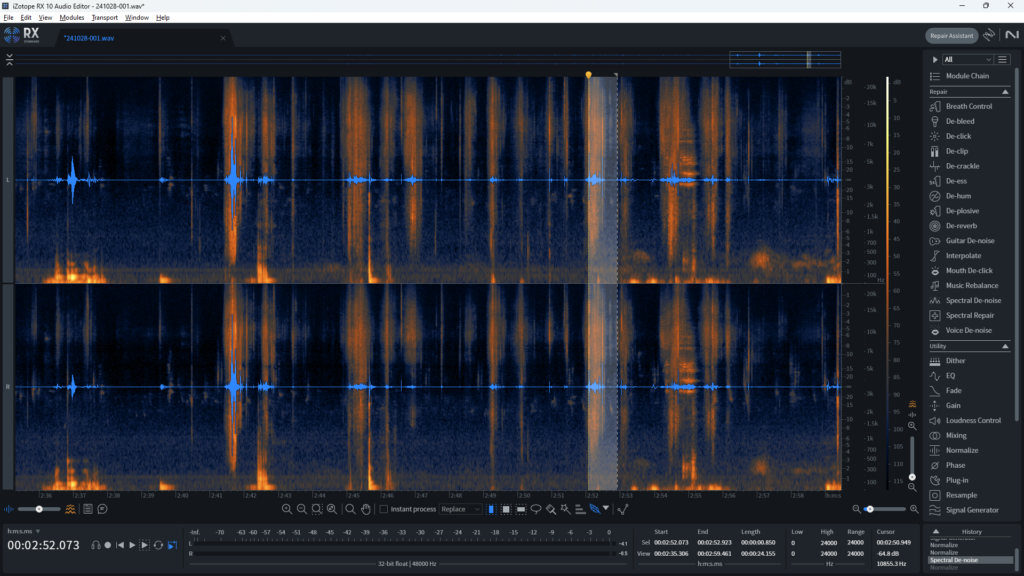
That would be the end of things going smoothly. When trying to implement the sounds in my VRC world, it seemed like there was no way to natively do it straightforwardly. I’ve tried many, MANY attempts to implement a system where the sound would play based on character movement through VRChat’s Udon system. I won’t go into Udon too much, but from what I understand it’s sort of their proprietary solution to add code in VRChat that comes in 2 flavors, a node graph system (similar to Unreal blueprints), and Udon sharp (which is basically just C# coding). I tried various attempts at the node-based system and ended up going nowhere with it.
I almost gave up on it, but one day when I was speaking to some friends in VRChat, one of them suggested using this prefab to implement footstep sounds, and it solved most of my issues, but there was still some finagling that I had to do. The first issue I came across with this prefab was that testing my volume mixing and filters on the footsteps worked fine in Unity, but when I put on my headset, it seemed to completely ignore these effect settings. The second issue I came across was that this prefab only played one sound, and that was it. I don’t know about you, but if I heard the same sound whenever I walked anywhere, it would drive me insane.
I wish this prefab had a sound bank system, where you can put multiple sounds and they would play one sound from a list of sounds at random. But since my patience with Udon was growing very short, my solution to both of these issues was just good old-fashioned audio editing. Since the prefab only played one sound, I just edited multiple footstep sounds randomly in one audio file. After that, I applied the volume and filter settings that I had in Unity to the sound file. Then I exported the sound from my audio editor and re-imported the one big sound file back into Unity. This was a gigantic pain in the butt, but it worked.
The Monster Called Unity Pt II
Now that my sound files were in place, I was trying to find some ways to improve how my world played and looked. The biggest issue I came across was with the shadows. Most people in the VRChat world-creating community will tell you that you need to do a process with lighting called “baking” in your world. What baking essentially means is that unity calculates how lighting and shadows interact with your world and uses the data to paint the lighting over your textures. The main reason to do this is to save processing resources on your players and make sure they have a smooth, lag-free, experience. Real-time lighting uses more resources for the player because it does the light calculations in real-time.
Since my only light source in this world was the sun, I decided to chance it and use real-time lighting. I did experiment with baking lights, but it frankly did not look as good as real-time lighting.
One downside to real-time lighting that I very quickly realized was that the shadows in the corner of my eye would disappear when it shouldn’t, here’s a video clip of this phenomenon.
Through some research, I was able to diagnose the issue. Unity as a game engine uses a technique called Frustum Culling to optimize games running on the engine. Below is a little GIF visualizing it, but to put it very briefly, the game will only render things in a game world that you can see.
What ended up happening in my world is that the trees would be outside of my view in VR, rendering out the tree, and since lighting is real-time, the shadow would not exist anymore. It makes sense, no tree = no shadow. Unfortunately, in the real world, I can still see the shadow even if I don’t see the tree behind me.
To cut an already very long blog post short, after trying to figure out ways to extend my view and even looking into disabling culling entirely, my solution was to angle the sun closer to high noon. That way the shadows would stick closer to the trees. This means that I would stop seeing the trees at the same time I would stop seeing the shadows. It meant the shadows in my world were not quite what I envisioned my world looking like, but it was way better than having a jarring pop-in.
Finishing Touches
The very last thing I wanted to implement in my world that I saw other VRChat worlds doing is having a texture fade in whenever you got close to an invisible wall. After some research on how to do it, what I ended up doing was making a flat plane in Blender, adding a red grid texture to it, and then having the render be a particle that responds to camera fading. The solution works very well!
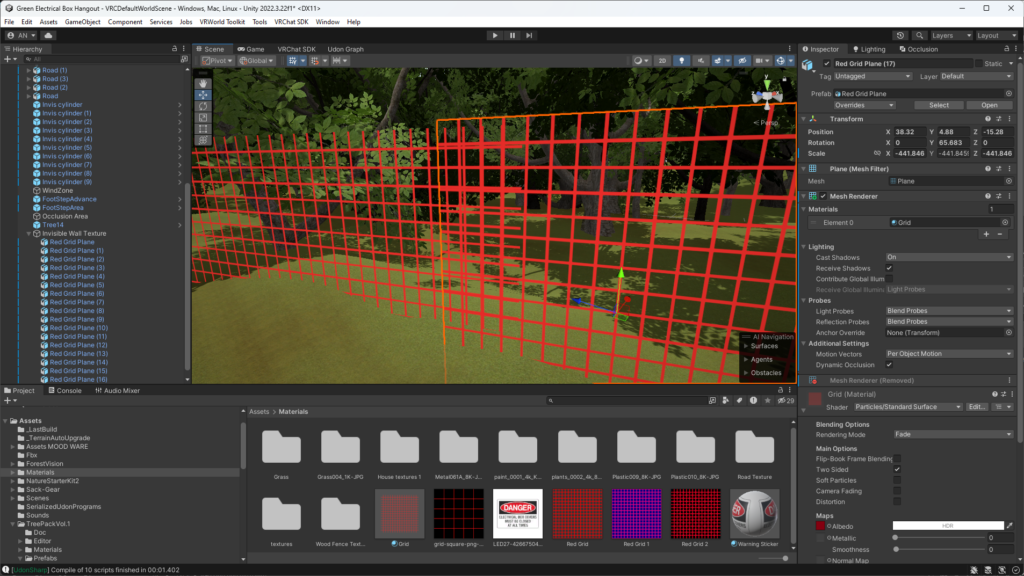
After this was implemented, and months (ugh) later, I can finally call this project completed. I was then able to upload the world to VRChat, and then upload it again for the quest version of the world. There are some post-processing shaders I implemented that make the world look better as well. If you check out the world, I recommend using the PC version of the world. It frankly looks way better on PC and some of the Quest optimization techniques would compromise the look on the PC version, and I refuse to do that. The Quest version still looks acceptable, but you will be missing the post-processing and the shadows.
Wrapping Up
Here is the link to my finished VRChat world if anyone is interested in visiting it. The one thing I would change in the future would be to try and implement Wwise in this project. There does not seem to be any documentation whatsoever on how to implement this software in a VRChat world. Maybe someday I’ll be the change the world needs.
For now, thank you so much for taking the time to read my ramblings on my process for my first game audio implementation project. I think my next step is trying out for a few game jams. I’ve learned a lot from this project that will only help me communicate and be part of a game development team more effectively.
If you have any questions or thoughts about anything in this post, feel free to let me know in the comments below. I will try to help the best I can, but please don’t treat me as tech support, I barely got through this project on my own.
Thanks again, hope everyone out in cyberspace has a good one. Also, don’t be afraid to stop by and say hello to me in VRChat 🙂
Leave a Reply